When you sign up for Buffer’s free individual plan or free trial plan for business, you are immediately prompted to connect your social media accounts. You can also add your accounts later by visiting your dashboard within Buffer.
With the individual plan, you can connect to only one account per service (one Twitter, one Facebook, and so on). This is probably fine for personal use, but if you’re using Buffer as part of your business’s social media management and your company has multiple accounts, you’ll need to upgrade to the Awesome or Business plan, depending on the number of accounts you’re managing.
You can connect to any social media account you want as your first account. Let’s begin by connecting to a Twitter account. Just follow these steps:
Step 1: Login to Buffer, which takes you to your dashboard.
If you haven’t connected any social media accounts yet, you see the Get Started message.
Step 2: Click the Connect to a Twitter Account button, or on the left, click Twitter Connect It Now!
You will see the Authorize Buffer to User Your Account screen.
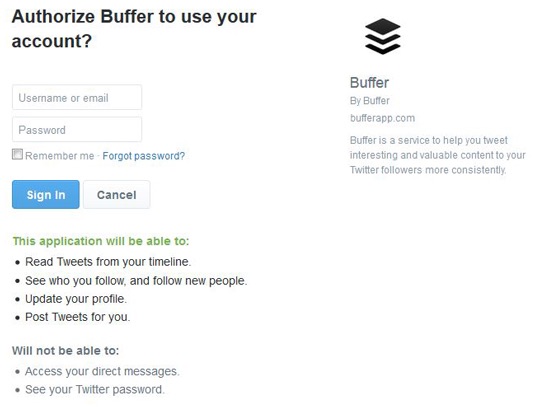
Step 3: Type in the username or email address and password for your Twitter account and click Sign In.
Step 4: You see yet another screen asking you to sign in.
This is for actually authorising Buffer to access your Twitter account. Go ahead and click Sign In again.
You now see your Twitter account displayed on the left side of your dashboard.
After you connect your first account, follow these steps to connect additional accounts:
Step 1: Click Connect More in the left navigation.
The Connect a Social Network screen appears, showing all of your connection options.

Step 2: Click the option for the type of social media account you want to connect to.
Step 3: Sign in to the account you want to connect to and then agree to give access.
The new account appears in the left navigation, and you can begin scheduling your posts for delivery.